
A backyard patio extends living space beyond the house, creating a functional zone for meals, conversation, or just unwinding after work. Whether starting from scratch or upgrading an existing slab, the right combination of materials, layout, and features makes the difference between a concrete afterthought and a space that actually gets used. This guide walks through material selection, space-maximizing layouts, shade solutions, furniture choices, and finishing touches like fire features and lighting. Each section includes practical considerations, cost, difficulty, tool requirements, and when to call in help, so homeowners can plan a patio project that fits their skill level and budget.
Table of Contents
ToggleKey Takeaways
- Patio material choice significantly impacts cost, maintenance, and design flexibility—concrete costs $6–$12 per square foot while pavers and natural stone offer easier repairs and better drainage.
- Smart patio ideas for small backyards involve anchoring the space against the house or fence, using L-shaped layouts, and incorporating vertical elements to maximize usable space without consuming the entire yard.
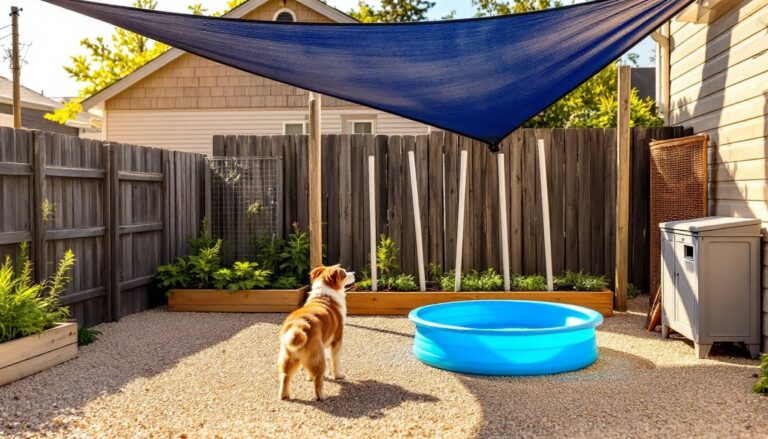
- Effective shade solutions like pergolas ($800–$1,500), retractable awnings ($400–$3,000), or shade sails ($150–$500) extend usable hours and protect furniture from UV damage and heat.
- Outdoor furniture should use powder-coated aluminum or all-weather materials with solution-dyed acrylic cushions to resist fading, moisture, and temperature swings.
- Fire features and layered lighting (path lights, string lights, and uplighting) enhance ambiance and functionality while proper placement per local fire codes ensures safety.
- A successful patio project requires accurate site prep, realistic timelines, and intentional design that balances material durability with thoughtful details for long-term use.
Choosing the Right Patio Material for Your Budget and Style
Material choice dictates cost, installation complexity, and long-term maintenance. Poured concrete remains the most economical option, running roughly $6–$12 per square foot for a basic broom finish. A 12×12-foot slab (144 sq ft) typically costs $850–$1,700 installed, though decorative finishes like stamped or acid-stained concrete can double that price. Concrete requires gravel base prep, proper reinforcement (fiber mesh or rebar for larger spans), and often a two-person crew for the pour and float.
Pavers, brick, concrete, or natural stone, offer more design flexibility and easier repair. Concrete pavers start around $3–$5 per square foot (materials only), while natural flagstone or travertine can reach $15–$25 per square foot. Installation involves excavation to 6–8 inches, a compacted gravel base, a 1-inch sand leveling layer, and edge restraints to prevent creep. A plate compactor (rentable for about $50/day) is essential for base stability. Pavers drain better than solid concrete and allow backyard makeover ideas to evolve without jackhammering.
Gravel or decomposed granite patios suit informal, cottage-style yards and cost $2–$4 per square foot. Layout is straightforward: dig 3–4 inches, install landscape fabric to suppress weeds, then spread and compact ¾-inch crushed stone topped with pea gravel or DG. Furniture with wide feet (not narrow legs) works best on loose surfaces. For a polished look with a lower price tag, many homeowners embrace pea gravel patio ideas that blend well with plantings.
Porcelain or composite deck tiles offer a low-profile solution for renters or those avoiding excavation. Snap-together tiles (around $8–$15 per square foot) lay directly over existing concrete or compacted gravel. They resist staining and UV fade, but expansion gaps are necessary in climates with wide temperature swings.
Permit requirements vary by jurisdiction. Most municipalities allow non-attached, grade-level patios without a permit, but check local codes if the project involves grading changes, retaining walls over 4 feet, or electrical lines for lighting.
Cozy Patio Layouts That Maximize Small Backyards
Small yards demand intentional layouts. A common mistake is centering the patio in the middle of the lawn, which fragments the space. Instead, anchor the patio against the house or a fence corner to create a defined “room” and leave usable lawn or garden area.
A 10×10-foot patio accommodates a four-person bistro set or two lounge chairs plus a side table. For dining, plan at least 12×14 feet to allow chair clearance around a 60-inch round or rectangular table (you need about 36 inches behind each chair for comfortable seating and movement).
L-shaped or wraparound patios work well on narrow lots. Run the main dining zone along the house, then extend a 6–8-foot-wide leg along a side fence for a grill station or fire pit nook. This configuration adds square footage without consuming the entire yard.
Multi-level designs visually separate zones. A raised section (even 6–8 inches higher) defines a lounge area, while the lower level handles dining or cooking. Use a single step with a riser height of 6–7 inches and a tread depth of at least 11 inches to meet typical IRC stair guidelines, even for a single step.
Curved or diagonal borders soften the geometry and make small spaces feel larger. Cutting pavers or pouring a curved edge requires a wet tile saw or angle grinder with a diamond blade, plus a bit more time, but the visual payoff often justifies the effort.
Incorporate vertical elements, trellises, tall planters, or a privacy screen, to draw the eye up and add dimension. A narrow yard benefits from backyard makeover tips that emphasize height and layering over sprawl.
Design Ideas to Create Shade and Comfort
Shade extends usable hours and protects furniture finishes. Direct sun heats surfaces fast, a dark composite chair can reach 140°F in full afternoon sun.
Pergolas, Awnings, and Natural Canopy Options
Pergolas provide partial shade and architectural structure. Standard kits in cedar or pressure-treated pine start around $800–$1,500 for a 10×10-foot freestanding unit. Roof spacing (typically 12–16 inches between rafters) determines shade density: closer spacing or a slatted top panel blocks more sun. Freestanding pergolas usually don’t require a permit, but attached structures may need approval and ledger board attachment into wall studs or masonry, with proper flashing to prevent water intrusion.
Retractable awnings offer on-demand coverage. Motorized models (12–16 feet wide) cost $1,200–$3,000 installed. Manual crank versions run $400–$900. Awnings must mount to a solid structure, ideally into wall studs or a fascia board rated for the load. Pitch the awning at least 15–20 degrees for water runoff. Wind is the enemy: retract in storms or install a wind sensor for motorized units.
Shade sails (triangle or square canopies tensioned between anchor points) deliver a modern look for $150–$500, depending on size and UV-rated fabric. Anchors must carry significant tension, use 4×4 posts set in concrete at least 24 inches deep, or mount to structural beams. Proper tensioning (using turnbuckles) prevents sagging and flapping.
Natural canopy from trees takes years but costs little. Fast-growing species like red maple, live oak, or zelkova provide dappled shade in 5–7 years. Plant at least 10–15 feet from the patio edge to avoid root heave under pavers. Avoid messy species (mulberry, sweetgum) near seating areas.
Cantilever or market umbrellas suit renters or those wanting flexibility. A 9-foot cantilever model with a weighted base (at least 75 pounds, or a base fillable with sand or water) costs $200–$600. Wind gusts can topple umbrellas: always close them when unattended.
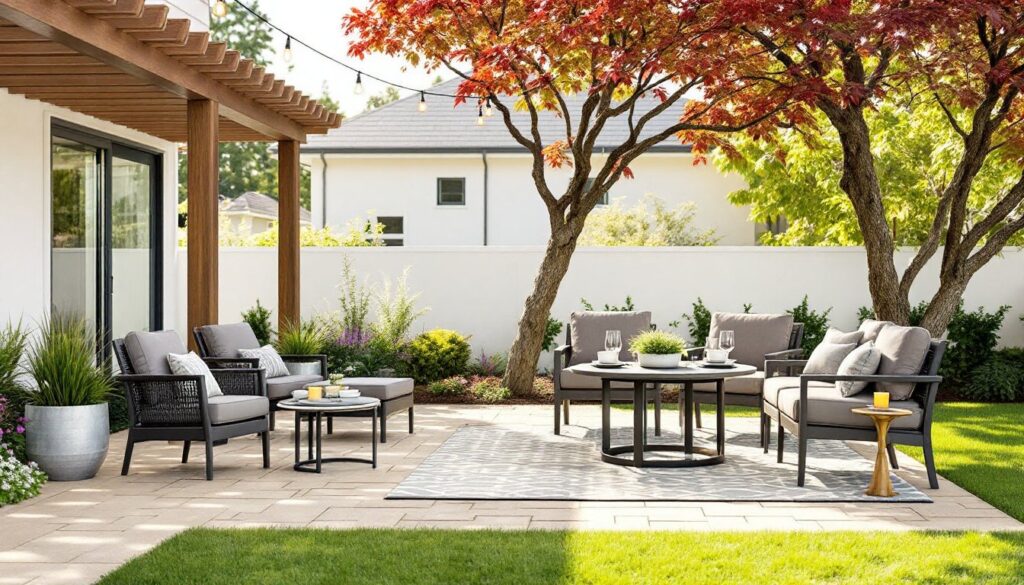
Furniture and Decor Tips for a Welcoming Outdoor Room
Outdoor furniture must resist UV, moisture, and temperature swings. Powder-coated aluminum offers the best strength-to-weight ratio and won’t rust. Teak and eucalyptus weather to a silver-gray patina unless treated annually with teak oil. All-weather wicker (resin over aluminum frames) mimics the look of natural wicker without the rot.
Cushions should use solution-dyed acrylic fabric (Sunbrella is the benchmark), which resists fading and mildew better than polyester blends. Store cushions during heavy rain or invest in a deck box (150+ gallon capacity) to keep them dry. Foam density matters, high-resilience foam (HR35 or higher) bounces back season after season.
Scale furniture to the patio size. A sectional sofa overwhelms a 10×10 space: opt for a loveseat and two armchairs instead. Use an outdoor rug to anchor the seating area, polypropylene rugs shed water and clean with a hose. An 8×10 or 9×12 rug works for most dining or lounge setups.
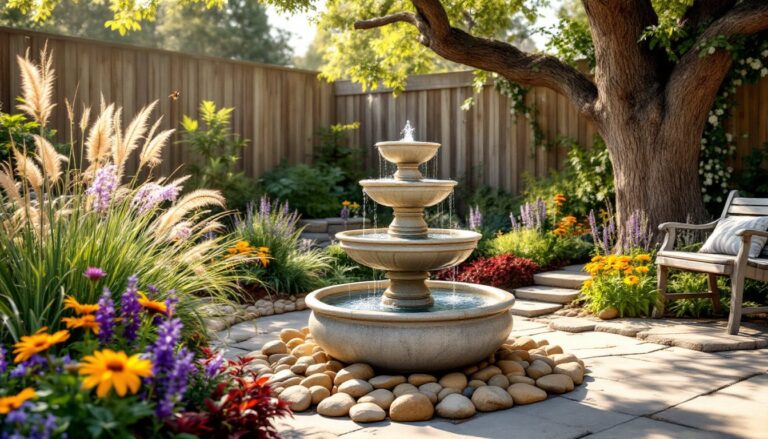
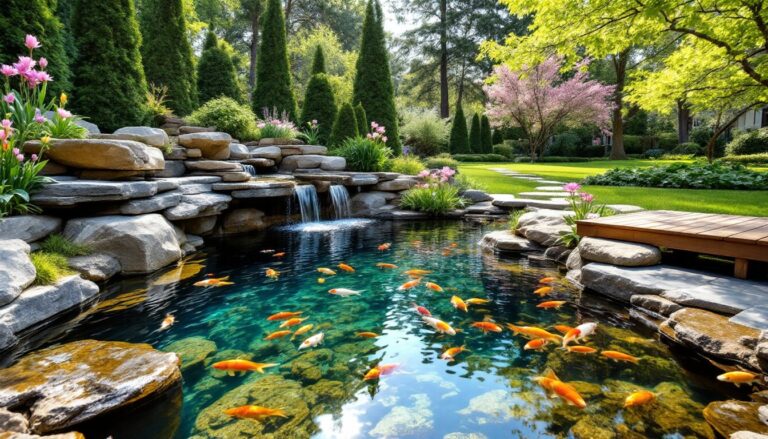
Adding a focal point, a statement planter, a water feature, or a piece of outdoor art, creates visual interest. Galvanized metal stock tanks (available at farm supply stores for $80–$150) double as planters or ice tubs. Drill drainage holes if using for plants.
For a cohesive outdoor room, repeat a color or material between furniture, pillows, and planters. Neutrals (grays, tans, whites) withstand trend cycles, while accent colors can rotate with pillows and accessories. Many outdoor design inspirations emphasize texture over bold color for longevity.
Adding Fire Features and Outdoor Lighting for Ambiance
Fire features extend shoulder-season use and serve as natural gathering spots. Propane or natural gas fire pits ignite instantly and require less maintenance than wood-burning models. Prefab gas fire tables (30–48 inches) start around $400–$1,200. Natural gas hookup requires a licensed plumber to run a black iron or CSST gas line: propane models connect to standard 20-pound tanks hidden in the base.
Wood-burning fire pits suit rustic settings but check local air quality regulations, many municipalities restrict open burning. A fire pit ring (steel or cast iron, 30–36 inches diameter) costs $100–$300 and should sit on a non-combustible base (pavers, gravel, or a concrete pad) with at least 10 feet of clearance from structures or overhanging branches per typical fire codes.
Built-in fireplaces or outdoor hearths require a permit, a masonry foundation, and often a contractor. Budget $3,000–$8,000 for a modest brick or stone fireplace, more for gas inserts or custom stonework.
Lighting layers add safety and mood. Path lights (solar or low-voltage) mark walkways and edges: space them 6–8 feet apart for continuous illumination. Low-voltage LED systems (12V) are DIY-friendly and safe, run 14- or 12-gauge landscape wire from a transformer (rated for total wattage load plus 20% headroom) to fixture locations. Bury wire 6 inches deep or run through conduit if crossing driveways.
String lights remain popular for their warm glow. Use commercial-grade Edison bulbs (LED for longevity) rated for outdoor use. Secure wire with screw-in cup hooks on posts or fascia boards: plan for tension every 10–12 feet to avoid sagging. Plug into a GFCI-protected outlet, required for all outdoor receptacles per NEC.
Uplighting on trees, architectural features, or planters creates drama. A simple LED spotlight (3–5 watts) aimed upward from ground level highlights texture. Motion-sensor fixtures near entry points add security without leaving lights on all night. Integrating elements from larger backyard transformations often involves a lighting plan as a finishing step.
Conclusion
A well-planned patio balances material durability, smart layout, and thoughtful details. Whether installing pavers over a weekend or building a multi-zone outdoor room with shade structures and lighting, success comes from accurate prep, appropriate tool use, and realistic timelines. For inspiration tailored to different yard sizes and styles, exploring backyard makeover examples or reviewing current design trends can spark ideas worth stealing. Start with a solid foundation, literal and figurative, and the patio will serve for years.