
Summer heat can turn a backyard from retreat to no-go zone. Direct sun drives surface temps up, makes seating uncomfortable, and limits when families can actually use outdoor spaces. Adding shade doesn’t require a contractor or a second mortgage. With basic tools, a weekend, and smart material choices, homeowners can create comfortable, usable outdoor areas that drop temps by 10–20°F. This guide covers twelve proven DIY shade solutions, from fabric and greenery to simple wood structures, that balance cost, durability, and ease of installation.
Key Takeaways
- Budget DIY backyard shade ideas like fabric tarps, sail shades, and pergolas can reduce outdoor temperatures by 10–20°F while cutting cooling costs by 15–25% during peak summer.
- Fabric-based shade solutions using canvas, shade cloth, or outdoor curtains on galvanized pipe provide fast, adjustable coverage at minimal cost ($0.50–$1.50 per square foot for quality shade cloth).
- Fast-growing trees and vine-covered arbors deliver natural, long-term shade for $15–$180 in materials, with saplings costing as little as $15–$40 compared to expensive container stock.
- Salvaged materials like reclaimed doors, pallets, and corrugated roofing panels significantly reduce costs while adding character to simple wood and lattice pergola structures.
- Portable solutions such as market umbrellas ($40–$120) and pop-up canopies ($80–$200) offer flexible alternatives when permanent structures aren’t feasible due to restrictions or uncertain layouts.
- Regular maintenance—replacing fabric every 3–5 years, refinishing wood every 2–3 years, and inspecting hardware annually—ensures shade structures remain safe and functional long-term.
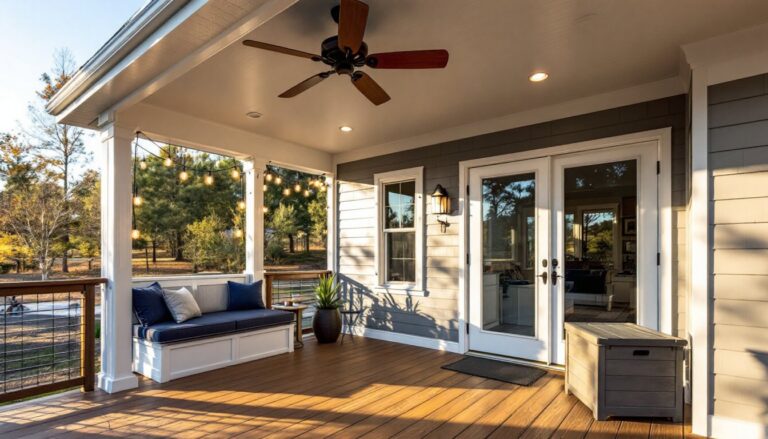
Why Backyard Shade Matters for Comfort and Savings
Shade reduces ambient temperature, protects outdoor furniture from UV degradation, and extends usable hours in a yard. Unshaded concrete or composite decking can hit 140°F in direct sun, hot enough to blister bare feet and warp certain materials.
Energy savings add up when shade blocks direct sun from windows and exterior walls. Strategic placement, especially on west- and south-facing exposures, can cut cooling costs by 15–25% during peak summer months. That’s measurable on utility bills.
Shade also improves outdoor living quality. Seating areas, play zones, and dining spaces see more use when they’re comfortable. Pets and kids benefit from cooler surfaces underfoot. For resale value, functional outdoor spaces rank high with buyers, particularly in regions with long, hot summers.
Fabric-Based Shade Solutions That Won’t Break the Bank
Fabric options deliver fast results with minimal tools. They’re lightweight, adjustable, and easy to remove for winter storage. Look for UV-rated outdoor fabric with at least 90% UV block and water resistance.
Drop cloths and canvas tarps work in a pinch. A 12×15-ft canvas tarp runs $30–$50 at hardware stores. Reinforce grommets with washers and paracord to prevent tearing. Natural canvas breathes better than poly tarps but needs occasional reproofing with fabric sealant.
Outdoor curtains mounted on galvanized pipe or cable create adjustable walls of shade. Use 1-inch EMT conduit ($8 per 10-ft length) supported by flanges or ceiling hooks. Curtains from discount home stores cost $15–$25 per panel. Choose fade-resistant polyester over cotton for longevity.
Shade cloth is purpose-built for this. Available in 30%, 50%, 70%, and 90% density, it’s sold by the linear yard in widths up to 20 feet. A 70% shade cloth offers a good balance between cooling and light. Secure edges with zip ties or ball bungees to fence posts, pergola beams, or eye bolts. Expect to pay $0.50–$1.50 per square foot depending on quality.
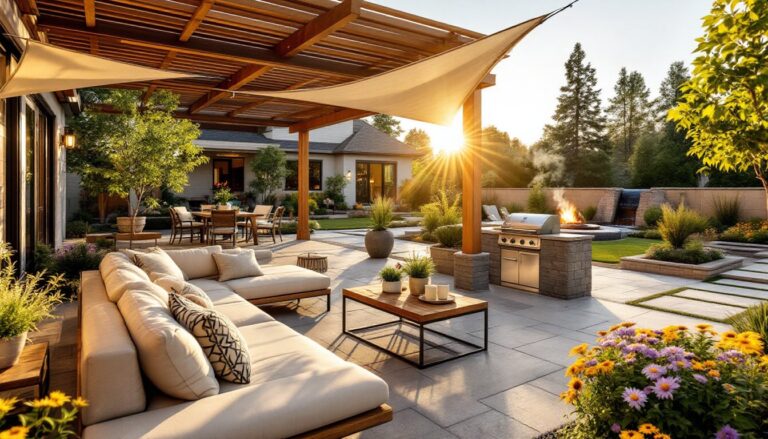
DIY Sail Shades and Canopy Ideas
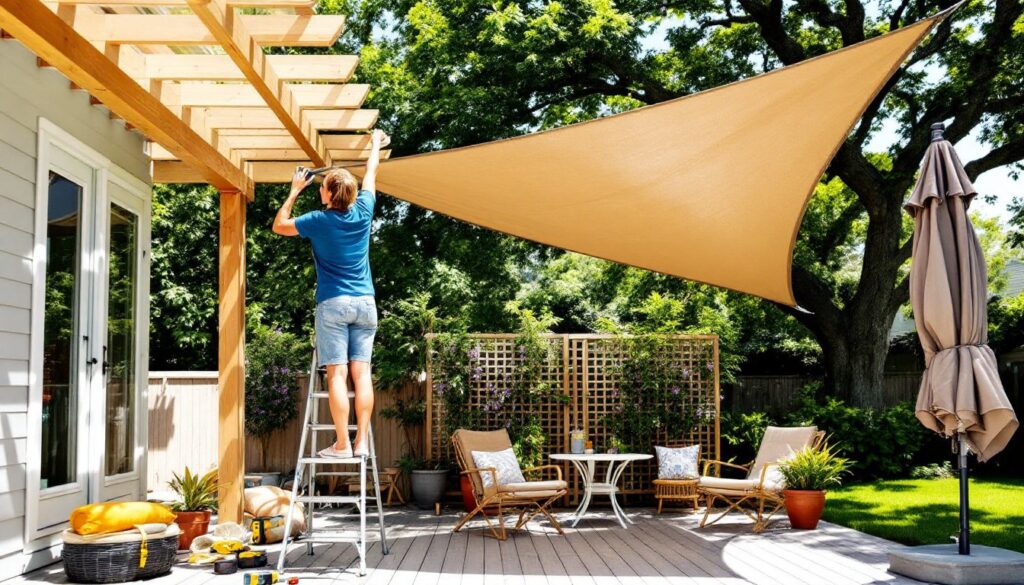
Sail shades (triangular or square tensioned fabric panels) are clean-looking and highly effective. Installation requires anchor points that can handle tension, typically 4×4 posts set in concrete or lag bolts into solid framing.
For a 12×12-ft square sail, dig post holes 12 inches diameter, 30 inches deep and set posts in fast-setting concrete. Posts should extend 8–10 feet above grade for proper pitch and water runoff. Angle the sail 10–15 degrees to shed rain.
Use stainless-steel turnbuckles and carabiners at corners for tensioning. Pre-made sail shades cost $40–$150 depending on size and fabric weight. DIY versions using marine-grade canvas or Sunbrella-type fabric cost less but require sewing heavy-duty seams and adding reinforced corner grommets.
Cables (1/8-inch stainless aircraft cable) can span between structures for multiple sails or draped fabric. Secure with cable clamps and eye lag screws (minimum 3/8-inch diameter, 4-inch embedment into solid wood). Check tension after the first rain: fabric stretches when wet.
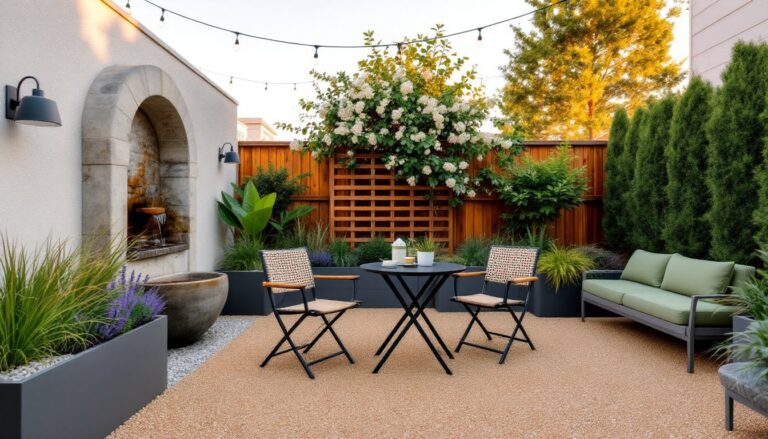
Natural Shade Options Using Plants and Greenery
Living shade takes time but pays dividends in cooling, privacy, and aesthetics. Fast-growing trees and vines offer budget-friendly coverage with ongoing benefits.
Fast-growing shade trees like red maple, river birch, or hybrid poplar can add 3–5 feet per year. Buy bare-root saplings in early spring for $15–$40 each, much cheaper than container stock. Plant on the south or west side of seating areas for maximum afternoon shade. Allow 15–20 feet from structures to avoid root and branch conflicts. Many outdoor space transformations incorporate strategic tree placement for long-term cooling.
Water deeply during establishment (first two years). Mulch with 3–4 inches of wood chips to retain moisture and suppress weeds, keeping mulch 6 inches away from trunks to prevent rot.
Vine-covered trellises and arbors deliver overhead shade in one to two seasons. Wisteria, trumpet vine, and grape grow aggressively: clematis and honeysuckle are more manageable. Build a simple arbor with 4×4 posts and 2×6 crossbeams. Add wire mesh or wooden lattice for vine support.
A basic 8×8-ft arbor uses:
- Four 4×4×10 pressure-treated posts ($12–$18 each)
- Four 2×6×8 crossbeams ($8–$12 each)
- Concrete, lag screws, and brackets ($30–$40)
- Total material cost: $120–$180
Install posts 24–30 inches deep in concrete. Space crossbeams 16–24 inches on center for climbing support. For faster results, experts at Bob Vila recommend combining annual vines like morning glory with perennials.
Potted bamboo or tall grasses in large containers (15–25 gallons) create movable privacy screens. Clumping bamboo varieties (not running types) stay contained. Expect to pay $40–$80 per large pot and $30–$60 per bamboo plant.
Repurposed and Upcycled Shade Structures
Salvaged materials cut costs and add character. Check municipal salvage yards, Habitat for Humanity ReStores, and online marketplaces for lumber, metal roofing, and structural elements.
Old doors or shutters mounted horizontally on a simple frame create instant overhead shade. A 6×8-ft shade panel can be built from four salvaged doors (free to $20 each) and a frame of 2×4 lumber ($3–$5 per 8-ft board). Attach with 3-inch deck screws and reinforce corners with metal corner brackets.
Corrugated metal roofing panels salvaged from barns or sheds work well for rustic pergola tops. Panels are typically 26 or 29 inches wide and come in various lengths. Polycarbonate roofing panels (new) cost $20–$40 per 8-ft panel and let diffused light through while blocking UV. Attach to wooden beams with roofing screws and neoprene washers to prevent leaks.
Pallets can be disassembled for slat-style shade roofs. Each standard pallet yields enough 1×4 slats for 8–10 square feet of coverage. Space slats 2–4 inches apart for partial shade. Pallets often come free from retailers: choose heat-treated (HT-stamped) over chemically treated (MB-stamped) for safety.
Recycled sails or tarps from marine suppliers or awning companies sometimes get discarded due to minor tears or stains. Repair with tent repair tape or heavy-duty thread and a sewing awl. Commercial-grade materials are far tougher than consumer products.
A reminder: always inspect salvaged lumber for rot, insect damage, and structural integrity. Avoid wood with soft spots, excessive checking, or heavy staining from unknown chemicals.
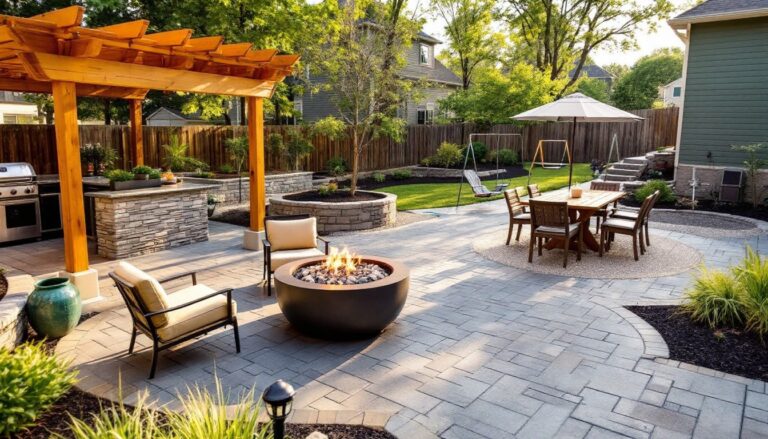
Simple Wood and Lattice Pergola Projects
A basic pergola frame offers partial shade and serves as a platform for fabric, vines, or additional roofing. Pressure-treated lumber is the budget-friendly standard: cedar or redwood cost more but resist rot naturally.
A 10×10-ft freestanding pergola with 4×4 posts and 2×6 beams uses:
- Four 4×4×10 posts ($12–$18 each)
- Four 2×6×10 perimeter beams ($10–$15 each)
- Six 2×6×10 cross rafters ($10–$15 each)
- Post bases or concrete ($40–$60)
- Fasteners (hurricane ties, lag screws, bolts): $30–$50
- Total: $250–$400 in materials
Dig 12-inch-diameter, 24–30-inch-deep post holes. Set posts in fast-setting concrete (50-lb bags, about $5 each: plan on two per post). Use a 4-ft level to plumb posts before concrete sets.
Attach perimeter beams with 1/2-inch carriage bolts (two per connection, washers and nuts included). Rafters rest on top, spaced 16–24 inches on center, secured with hurricane ties or metal rafter hangers. This setup provides roughly 30–50% shade depending on rafter spacing.
For more coverage, add lattice panels (4×8-ft sheets, $15–$30 each) across the top. Diagonal lattice blocks more sun than square grid. Secure with 1 5/8-inch deck screws every 16 inches. Lattice is lightweight and lets air through, reducing wind load.
Another option: run 1×2 slats perpendicular to rafters, spaced 3–6 inches apart. Closer spacing = more shade, but also more material and weight. A backyard transformation project can benefit from adjustable slat angles if you’re comfortable with a more complex build.
Finishing: Apply exterior wood stain or sealer within a week of assembly to prevent UV graying and moisture damage. Re-coat every 2–3 years. Stain costs $25–$40 per gallon, covering roughly 200–300 sq ft per coat.
Tool requirements: circular saw or miter saw, drill/driver, post hole digger or auger, level, speed square, and tape measure. Rent a two-person auger for $40–$60/day if digging multiple deep holes.
Budget-Friendly Umbrellas and Pop-Up Solutions
When permanent structures aren’t feasible, rental properties, HOA restrictions, or uncertain layouts, portable shade fills the gap.
Market umbrellas (center-pole, 7–9 ft diameter) cost $40–$120. Look for aluminum poles (rust-resistant, lightweight) and fade-resistant polyester canopies. Cheap umbrellas use thin poles that bend in wind: check for 1.5-inch minimum pole diameter and fiberglass ribs.
Stability matters. A 50-lb concrete or resin base ($30–$60) is minimum for umbrellas over 7 feet. Fill-your-own bases (sand or water) are cheaper but less stable. In windy areas, add a ground anchor auger ($10–$20) and use a tether strap.
Cantilever (offset) umbrellas provide shade without a center post blocking the table. Budget models start around $100–$200 for 10-ft coverage. These require heavier bases (75–100 lbs) and cross-bracing to resist tipping. When planning a beginner-friendly outdoor upgrade, cantilever umbrellas offer flexible coverage with minimal installation.
Pop-up canopies (10×10 or 10×20 ft) are the workhorse of temporary shade. Frames run $80–$200 depending on build quality. Straight-leg models maximize headroom: slant-leg versions are cheaper but reduce usable space. Check for powder-coated steel frames and reinforced canopy corners.
Canopies handle wind poorly. Anchor every leg with weight bags (25–40 lbs each) or ground stakes on grass. In gusty conditions, remove the canopy rather than risk frame damage. Replacement canopies cost $30–$80, so budget for eventual wear.
Maintenance: Store fabric components dry to prevent mildew. Hose off dirt and pollen monthly. Check metal frames for rust spots and touch up with rust-inhibiting spray paint. Lubricate moving joints (crank mechanisms, tilt hinges) with silicone spray annually.
DIY tip: Build a fixed umbrella stand into a deck or patio using a 3-inch PVC sleeve set into concrete. Drop the umbrella pole into the sleeve when needed, remove for storage. Costs under $15 and keeps decks clutter-free. Current 2026 outdoor trends favor modular, movable solutions like this for flexible seasonal use.
Final Considerations
Choose shade solutions that match use patterns and climate. Fabric works for seasonal shade: wood and plants deliver year-round structure. Layer approaches, vines on a pergola, plus a cantilever umbrella for targeted coverage, maximize comfort.
Safety: Wear eye protection when cutting lumber or driving fasteners overhead. Use work gloves handling metal roofing or lattice (sharp edges). A dust mask is essential when cutting pressure-treated wood: the preservatives irritate lungs.
Don’t skip layout and leveling. A pergola with one short leg looks amateur and stresses joints. String lines, a 4-ft level, and a tape measure prevent expensive mistakes.
Most shade projects don’t require permits, but check local building codes for setback requirements and maximum structure height. Permanent structures (footings in concrete, attached to house) may trigger permit and inspection requirements. For comprehensive planning, a detailed backyard makeover guide can help map out phased projects.
Materials degrade. Budget for replacement fabric every 3–5 years, wood refinishing every 2–3 years, and hardware inspection annually. Keeping fasteners tight and finishes intact extends the life of every build.
With smart material selection, basic carpentry, and attention to structural details, homeowners can add functional shade that improves outdoor living and holds up season after season. Additional resources on garden design can be found at Gardenista, while The Spruce offers comprehensive guides for outdoor projects and material selection. Measuring results is simple: if the space gets used more and the house stays cooler, the project succeeded.